Building Business Processes with WEBCON BPS – an expert guide: Part 2 - Prototype implementation via Designer Desk
User Assignments: Designing a prototype
Designer Desk
Prior to WEBCON BPS 2021 I would have used the Designer Studio to create a prototype together with the process owner, the person who’s requesting this. With the new version I would definitely choose the Designer Desk as a tool. The Designer Desk allows every user to create a prototype of their process which they have in mind. It contains only as much information as needed for the prototype creation, which can be tested, and upon completion it can be send to the IT department to create a process from it. I won’t take a screenshot of every step since it’s quite self-explaining, and it’s shown in the official release demo starting here.
Creating the workflow
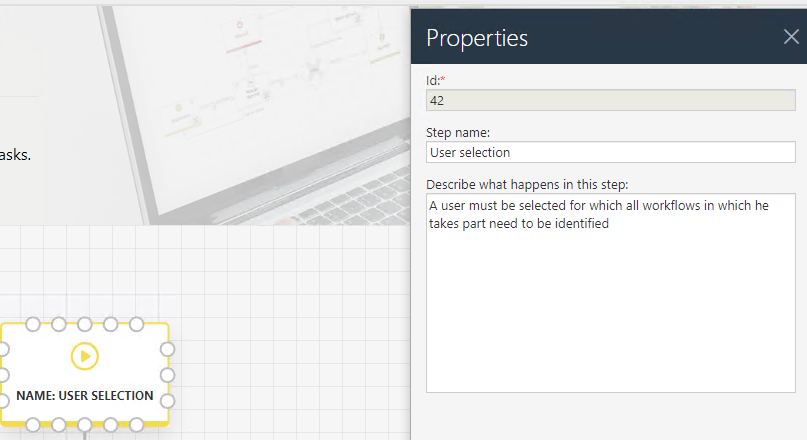
Lets start with the initial workflow to get all assignments of a user. We can define a step name and provide a description what should happen in this step.
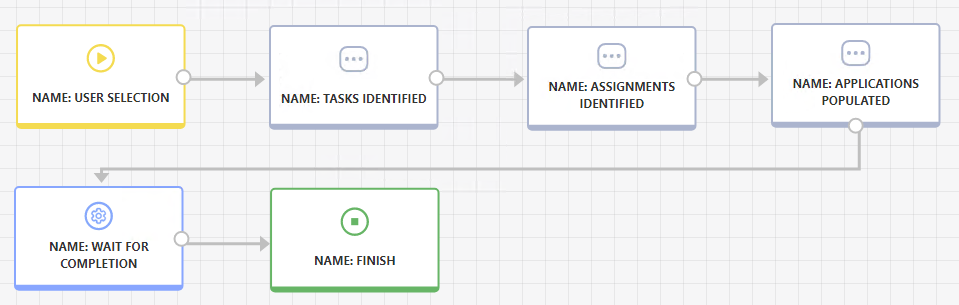
The workflow for identifying all workflows in which a user is involved could look like this.
Creating the form
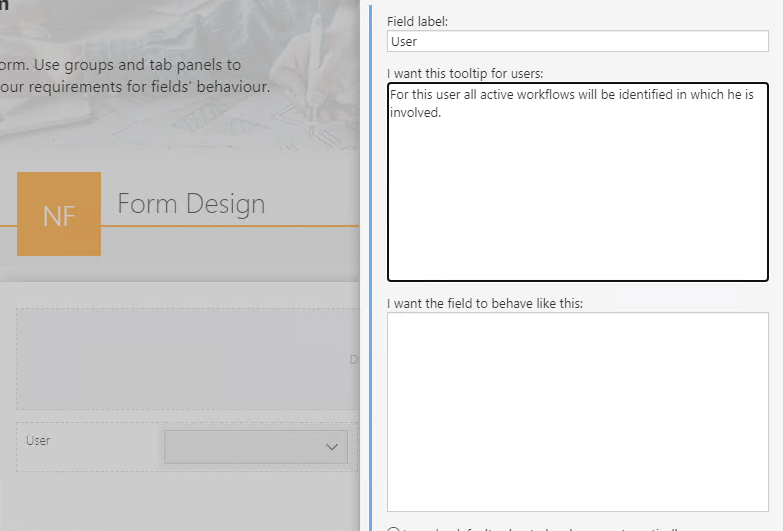
Once done, we will move to the form, define fields, and provide information for the field. Why do we need it and what should happen with it.
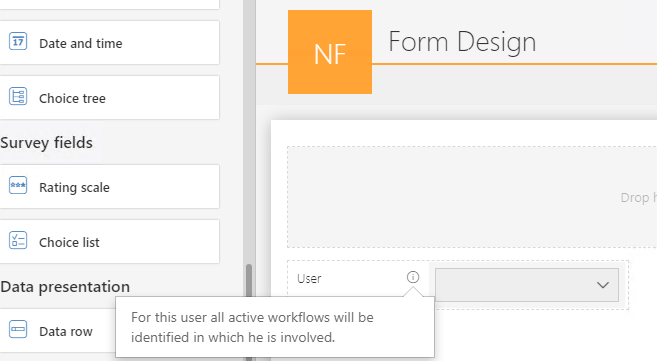
Besides the user we need a table (item list), adding fields is done by drag& drop the fields from the left navigation onto the plus sign.
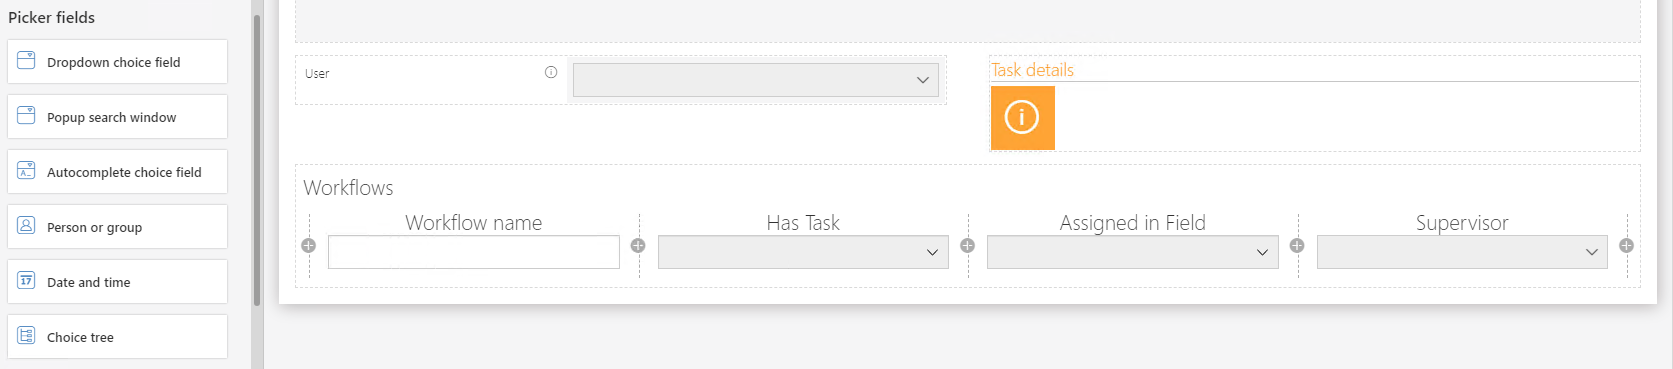
In the field matrix we are defining when each field will be visible, whether it’s read only or required.

Performing a test run
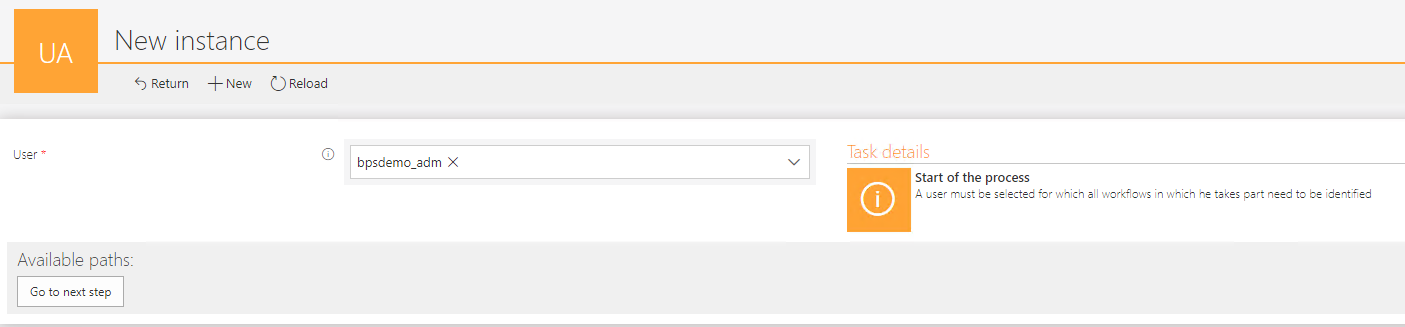
With these settings we can use the prototype for a test run. We can select the user and see the description of the first step.
While going through the workflow step by step we can provide other values and identify any shortcomings.
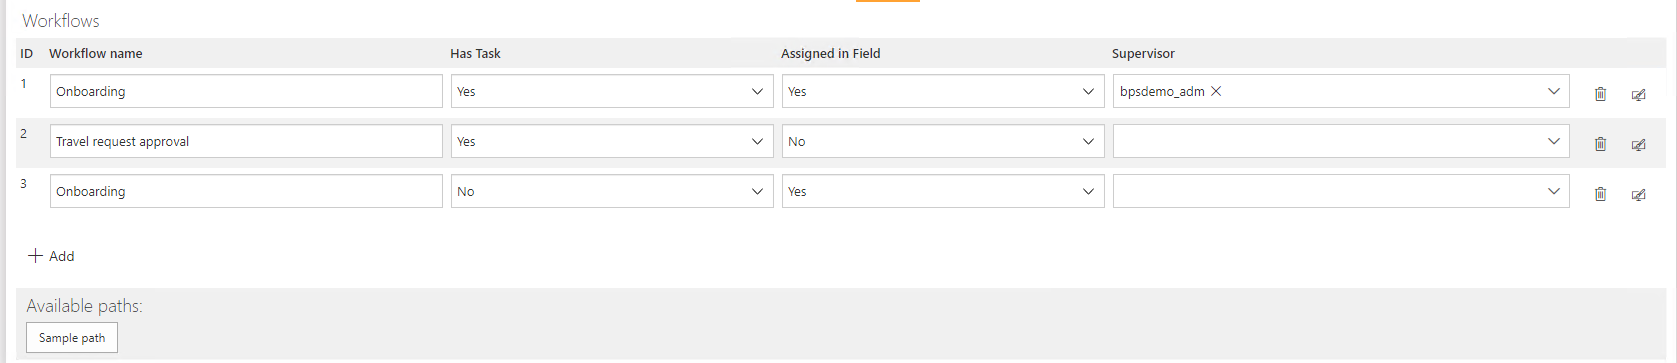
For example, we might decide, that it would be good to have an Id in addition to the Workflow name. When we looked through our existing applications for example data, we noticed that not all of them have a person as a supervisor. Some use custom information like “Backoffice”.
Updating the form and workflow
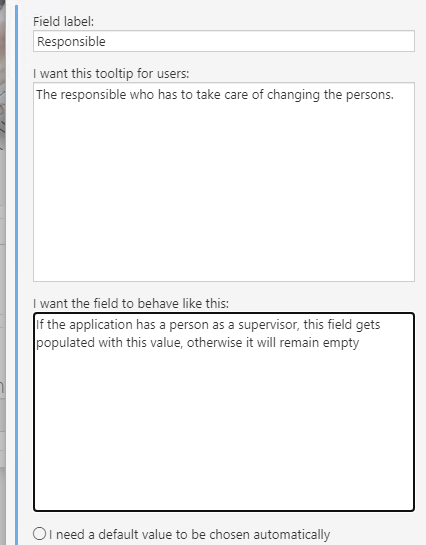
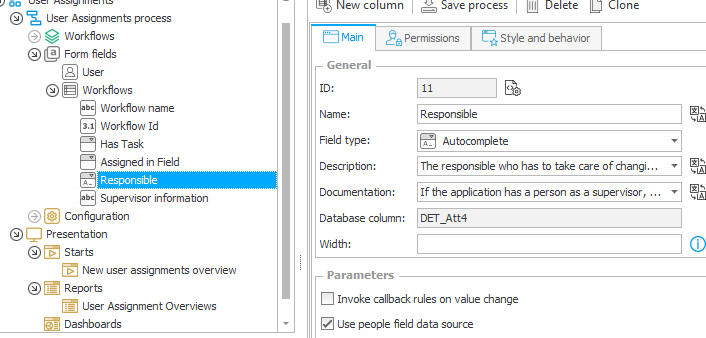
We therefore need to add an option to display this additional information and provide a way to define a responsible in this case. Let’s add some fields to reflect the new requirements.

And add a description to the responsible field so that we know why this is special.
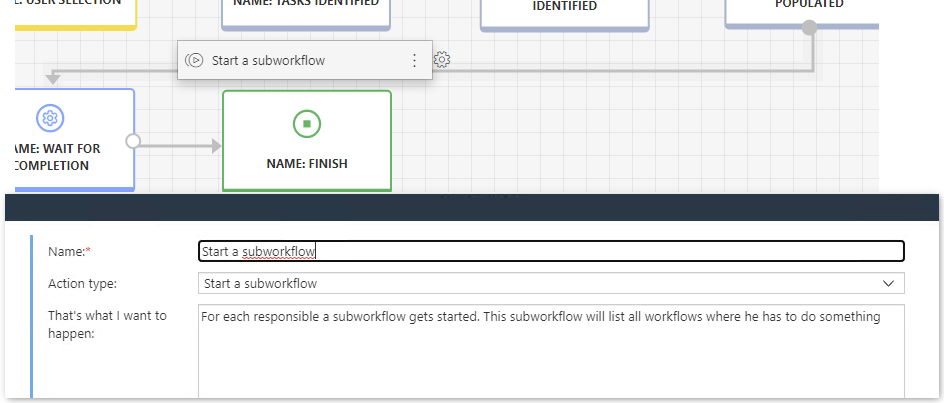
In addition, we change the name of the paths from “Sample path” to something else and add an action to it.
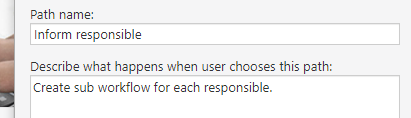
Adding a report
After doing this, I noticed that I don’t have an option to view the test run data. But this is only because I haven’t yet added a report, which can easily be fixed, by adding one.
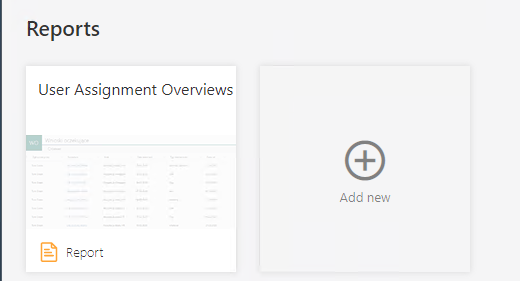

Now we can enter the additional information and start the imaginary sub workflows.

Sending the prototype to IT for finalization
Once everything is ok it can be published. This is a one-way action for sending the prototype over to the IT where it can be finalized.
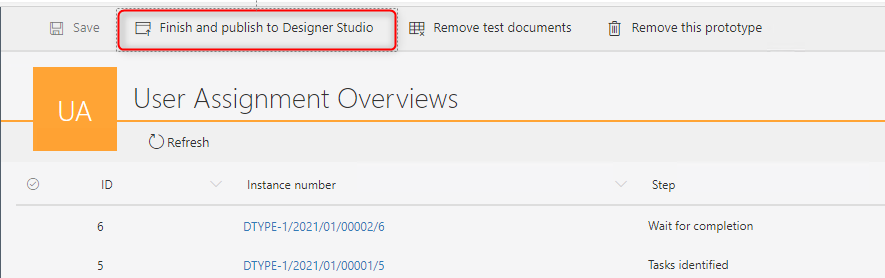
The IT can continue working on the prototype, no information was lost. Every field, step, report description, documentation and so on was transferred.
The IT can even take a look at the test-run data.

Impressions
The Designer Desk allows any end user to create a prototype based on their ideas. They can design the workflow and form, test the created application, verify it, change it until they are satisfied with the result. In addition, they can add a description what should happen, without bothering to make it actually work or fear to break anything. They can just describe something like “send attachment with name X via mail to the supervisor of A and attachment with name Y to supervisor of supervisor of B” and let the IT see how to implement this. This is great for both sides. The end user can test and adapt to their hearts content and the IT finally gets precisely described requirements. What’s even better all information and test-run data is accessible to the IT. This is clearly a win-win situation and I like it a lot. To summarize the benefits:
- End users get a sandbox where they can create/change/test a prototype to their hearts content.
- The IT can focus on the implementation using the provided description and test data.
- InstantChange™ technology is applied here too.
If you don’t know what InstantChange™ is, here is a five minute video:
Continuation
In the next part we will take the prototype and and enhance it to get all workflows for which a active tasks exists.
Part overview
- Introduction and Use Case
- Parent Workflow- Prototype implementation using the Designer Desk
- Parent Workflow - Prototype changes and task retrieval
- Parent Workflow - Identify workflows by selected user
- Parent Workflow - Getting translations & supervisor
- Sub Workflow - User assignment task
- Parent Workflow - Starting sub workflows & monitoring column
Download
You can download the application from here.
Comments