Zip all (child) workflow attachments
Overview
I was once asked whether it would be possible to get the document from specific child workflows in a .zip package. This was necessary, because these needed to be provided to the authorities. The solution was quite simple, display a report inside the form and activate the option to download the attachments.
Info: While I verified that this still works in 2025 R1, I used this approach in 2022 R1.
Implementation
Displaying a report inside a form is simple. We need:
- A specially prepared report.
- The embed code for the report.
- A html field.
- A little JavaScript for styling and easier reusability.
Report definition
While I recommend creating a dedicated report for this and hide it in the navigation it is not necessary. The important settings are:
- Allow users to download multiple attachments.
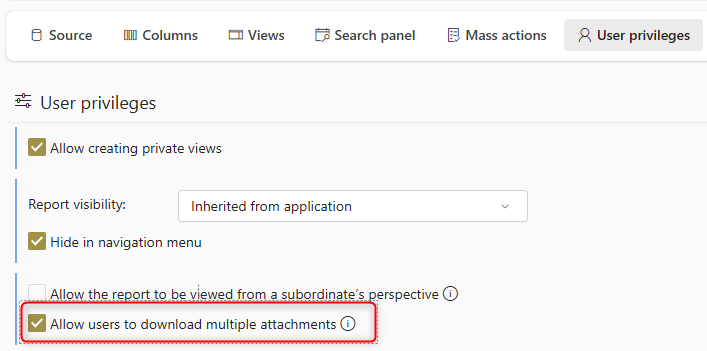
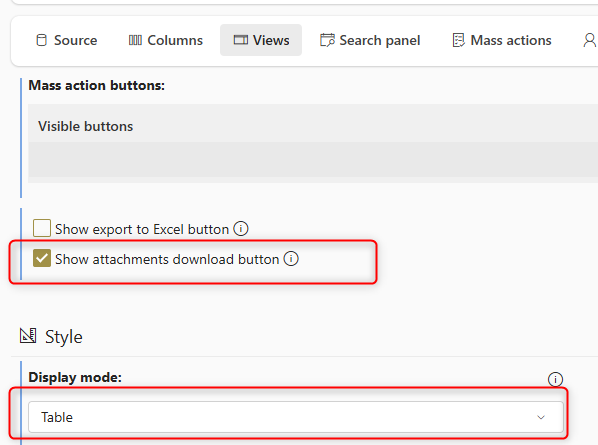
- Render all rows

- Activate the download button and always render it as a table.
- Configure an URL filter.
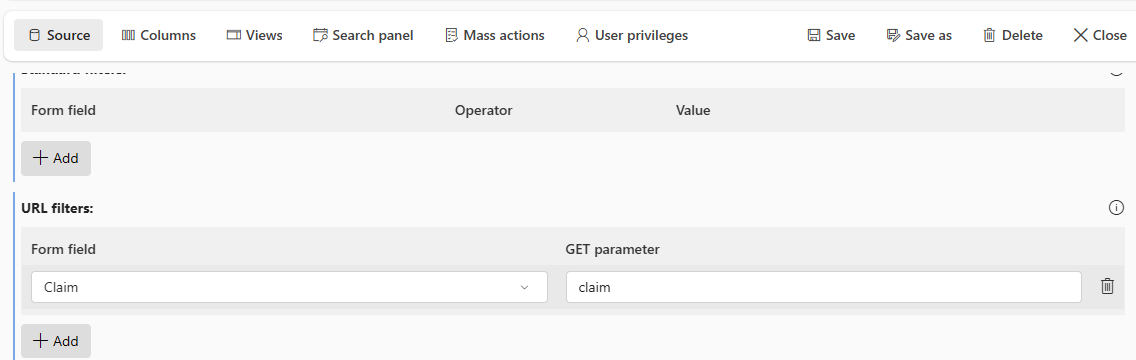
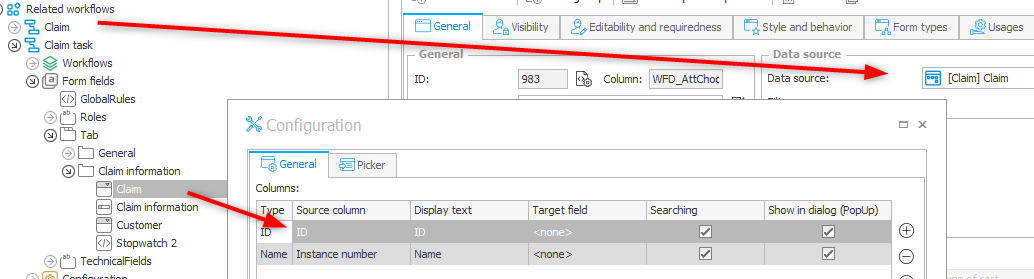
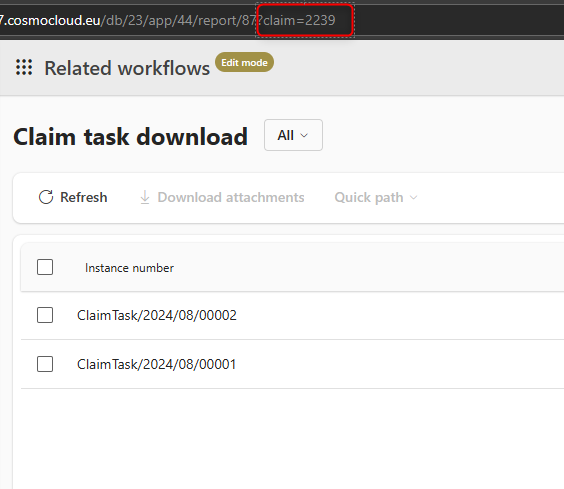
In my case the URL filter takes the value of the “claim” query parameter to filter the claim task by the parent claim. The claim is stored in a choose field, which id is the instance id of the claim.
You can test whether everything works when you navigate to the report and add the URL filter parameter. Take note of the filter, as you will need it later.
Get iFrame URL
The easiest way for getting the iFrame URL is using the embed action from the avatar menu.
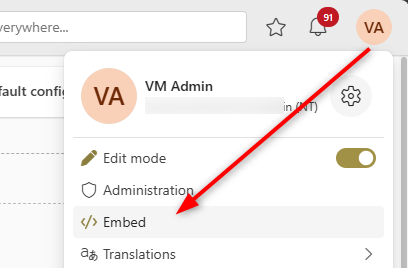
Embed dialog.
Afterwards you can select the correct report.
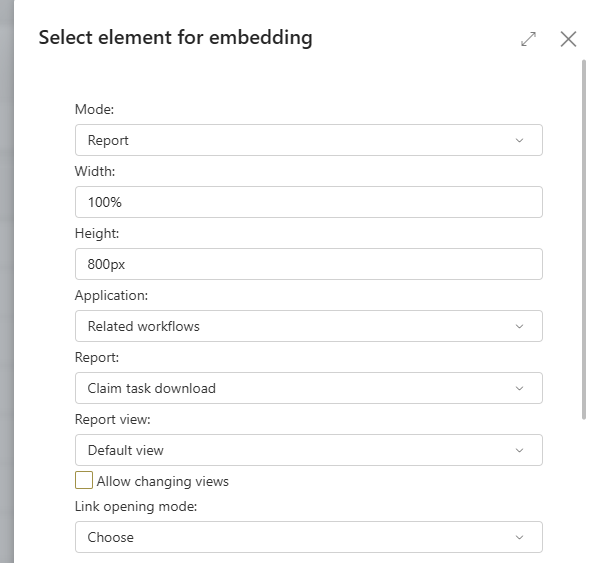
At the bottom you will find the HTML for displaying this report. Copy it, and then we can head over to our final step.
Displaying the report in the form
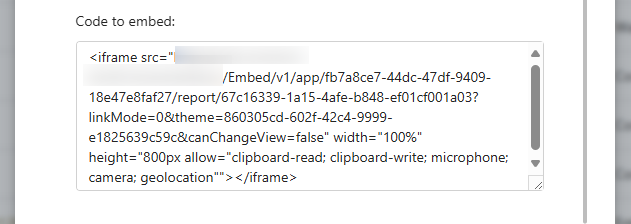
In my current version of WEBCON BPS, the generated HTML is broken. The closing double quote of the height attribute is missing. Instead, there are two closing double quotes after geolocation.
<iframe src="https://your.webcon.server/Embed/v1/app/fb7a8ce7-44dc-47df-9409-18e47e8faf27/report/67c16339-1a15-4afe-b848-ef01cf001a03?linkMode=0&theme=860305cd-602f-42c4-9999-e1825639c59c&canChangeView=false" width="100%" height="800px allow="clipboard-read; clipboard-write; microphone; camera; geolocation""></iframe>
This is the corrected version:
<iframe src="/Embed/v1/app/fb7a8ce7-44dc-47df-9409-18e47e8faf27/report/67c16339-1a15-4afe-b848-ef01cf001a03?linkMode=0&theme=860305cd-602f-42c4-9999-e1825639c59c&canChangeView=false" width="100%" height="800px" allow="clipboard-read; clipboard-write; microphone; camera; geolocation"></iframe>
While fixing the URL and using it in the form would work, this has a few drawbacks:
- The theme is fixed
If we remove the theme GUID, WEBCON would use the default embed theme instead of the theme the user has chosen.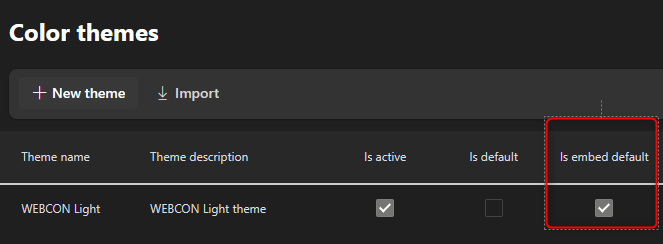
- It takes up more space then necessary
There’s no need for the report name or the actions on the right of the toolbar.
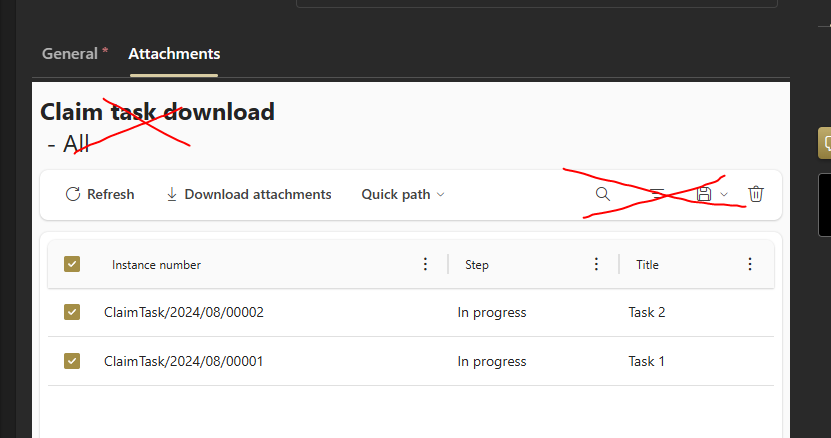
Both can only be prevented if we create the iFrame with JavaScript. Therefore, we will just copy two information from the value in the src attribute:
- App GUID
appfb7a8ce7-44dc-47df-9409-18e47e8faf27 - Report GUID
67c16339-1a15-4afe-b848-ef01cf001a03
We will need this information when we customize the HTML field after copying the below HTML into the advanced configuration.
<div id="attachmentIframeContainer"/>
<script>
function createReportIframe(appGuid, reportGuid,filter) {
        const iframe = document.createElement('iframe');
        // Get the currently used body. This is only updated if the browser is reloaded, not when the user switches the theme.
        const themeClass = Array.from(document.body.classList).find(cls => cls.startsWith('theme-'));
        const themeGuid = themeClass ? themeClass.replace('theme-', '') : '';
        iframe.id = 'attachmentIframe';
        iframe.width = '100%';
        // You could modify this to match your needs.
        iframe.height = '800px';
        iframe.src = `/Embed/v1/app/${appGuid}/report/${reportGuid}?linkMode=0&canChangeView=false&theme=${themeGuid}&${filter}`;
        document.querySelector('#attachmentIframeContainer').appendChild(iframe);
        // Styling is injected into the iFrame to remove report title, preview and the right actions of the toolbar.
        iframe.addEventListener('load', () => {
            try {
                const iframeDoc = iframe.contentDocument || iframe.contentWindow.document;
                const style = iframeDoc.createElement('style');
                style.textContent = `
    .webcon-ui .banner,
    .webcon-sidebar-controller__sidebar,
    .top-bar-toolbar-menu--placement-right
    {display:none !important;}
      `;

                iframeDoc.head.appendChild(style);
            } catch (error) {
                console.error('Unable to access iframe content:', error);
            }
        });
    }
createReportIframe('fb7a8ce7-44dc-47df-9409-18e47e8faf27','67c16339-1a15-4afe-b848-ef01cf001a03',`claim=#{WFD_ID}#`)
</script>
<!-- Style the iFrame -->
<style>
#SEL_HTML_#{WFCON:1561}# .grid-template__panel  {margin:0;}
#attachmentIframe{border:0;}
</style>
Now it’s time for the customization:
- Use your app GUID.
- Use your report GUID.
- This will be your filter, which you already added to the URL in Report definition.
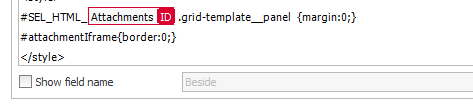
- Use the id of your HTML field.
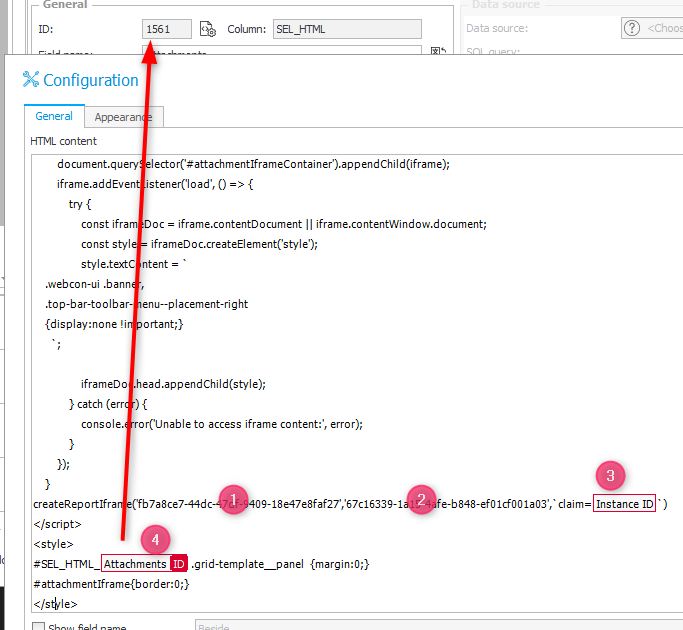
Don’t forget to hide the display name. ;)
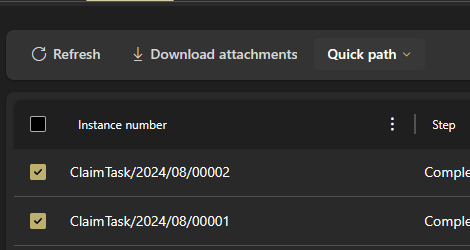
That’s all, now your users will be able to download the attachments of the selected workflows.
Outlook
Download attachments of a workflow hierachy
If you want to download the attachment of the claim, the claim task and maybe other workflow instance you could make use of the SQL filter. I’ve used this approach in the video.
There’s a URL Address variable and with some text manipulation we will be able to return all relevant workflow instances. In my case I had to create two separate conditions for the two form types.
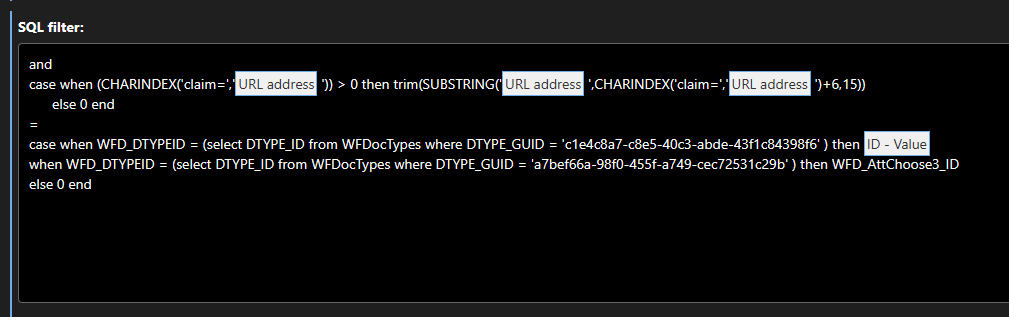
This is the SQL statement I used:
and
  case when (CHARINDEX('claim=','##contextweburl## ')) > 0 then trim(SUBSTRING('##contextweburl##',CHARINDEX('claim=','##contextweburl##')+6,15))
      else 0 end
  =
  case
    when WFD_DTYPEID = (select DTYPE_ID from WFDocTypes where DTYPE_GUID = 'c1e4c8a7-c8e5-40c3-abde-43f1c84398f6' ) then WFD_ID
    when WFD_DTYPEID = (select DTYPE_ID from WFDocTypes where DTYPE_GUID = 'a7bef66a-98f0-455f-a749-cec72531c29b' ) then WFD_AttChoose3_ID
    else 0 end
This is surely not the best performing query, but executing it a few times will probably not hurt to much. This could be improved a little, if the GUIDs would be part of the view. Maybe someone else can push this user voice.
Quick path
Rendering reports in a form would also offer the option to execute quick paths on the selected workflow instances, Quick path documentation.
Comments