How to hange a puzzle to the wall
Overview
This is a step-by-step guide on my practiced approach on how to glue a puzzle and hang it on the wall. While it’s more for my personal guide for any future puzzles, there may be others who are interested in it. It’s based on this German YouTube video DIY - Puzzle XL auf Holzplatte kleben und Rahmen selber bauen | einfach und unkompliziert | Wie man . Since I’m completely unskilled when it comes to physical work I opted for a solution without a frame.
Material
These are the materials I used.
- Latex binder Baufan Latex-Bindemittel
This will glue the pieces together. - Press roller
I’ve used such a roller for glueing the pieces.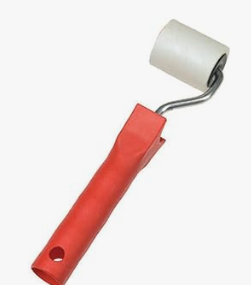
- Wood MDF Analog E1 Ungeschliffen
The wood to which the puzzle will be glued. It’s 0.5 cm thick. While it’s tempting to buy it before starting the puzzle, the size on the puzzle box is an estimation. I’ve measured the final puzzle. -
Wolfcraft pilot drill with countersink and depth stop Wolfcraft Vorbohrer mit Senker und Tiefenstopp
Will be used to prepare the wood, so that the screws will sit flush to the wood surface.

- Wood glue Ponal Classic
I used the undiluted glue. - Smoothing squeegee
I’ve used this to spread the glue on the wood.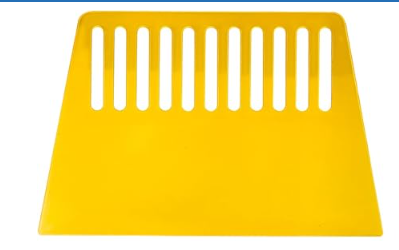
- Find something which you can use to press the puzzle onto the wood
Preparation
Moving the puzzle onto the wood
At this point the puzzle is already finished, and the wood has been purchased. The next home improvement store is OBI, which also offered to cut the wood in the required dimensions. The first step was to move the completed puzzle onto the wood as I wanted to put some protection on the surface before starting with the glueing.
The best approach was to:
- Tear down the puzzle box
- Place the wood on a flat angle near the puzzle
- Place the flat puzzle box on the edge of the wood
- Slide it under the puzzle for about 10 cm, this reduced the angle even further
- Pull the puzzle onto the wood, depending on the size, you will need a second person
Drilling the sinks for the screws
I’ve opted to screw the wood with six screws to the wall. This was fine for a 6000 pieces puzzle and will surely be fine for the 3000 piece puzzle in these pictures.
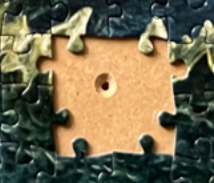
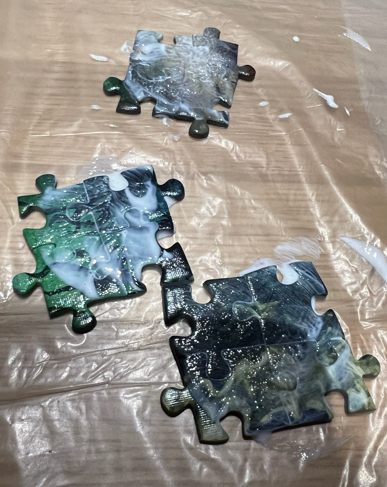
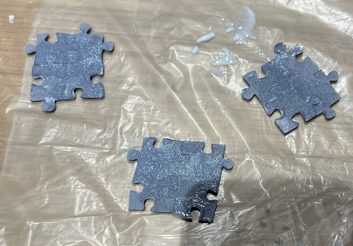
For each screw I removed four puzzle pieces which are 3 pieces away from the border. I will use the term ‘screw puzzles’ for those. The middle has been marked for drilling. This is way easier than measuring the correct location.
Afterwards I protected the table, slid down the puzzle from the wood and drilled the wood.
I don’t have a picture from this step, but this is how it looks at the end.
Glueing the pieces
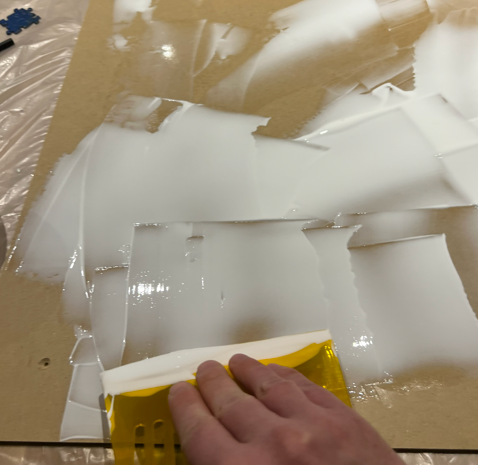
Maybe I’m a bit paranoid but this was a three-phase process. I used the press roller to press the Latex into the connections of the puzzle pieces. I’ve done this horizontally, vertically and diagonally. While the Latex looks white, it will fade to transparent over time.
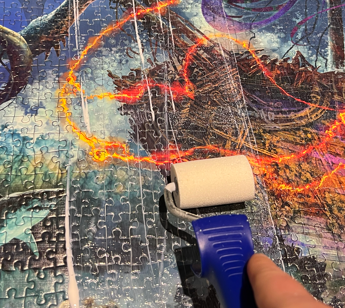
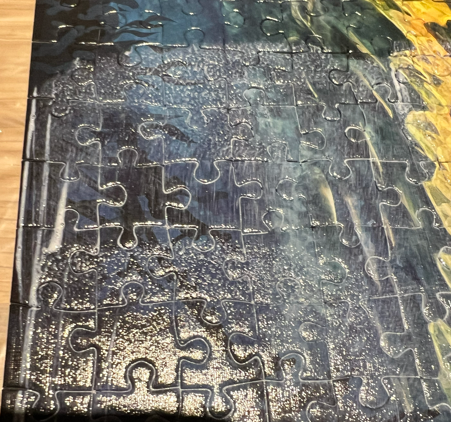
In case of the screw puzzles, I’ve done this on the front and back.
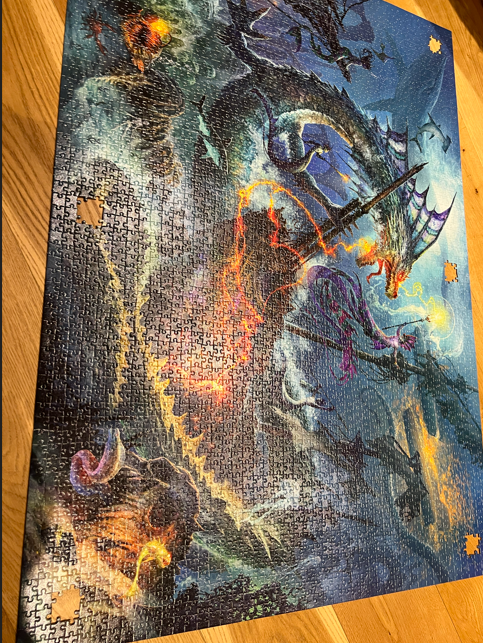
I waited approximately an hour until the Latex had dried. Afterwards the puzzle will already be a single piece and can cautiously be moved. The image below shows the lifted puzzle, where the black is a shadow.
Then I moved the puzzle onto the floor to reuse the cover.
Glueing the puzzle onto the wood
When I glued my first puzzle I made two mistakes:
- I use a tube of glue
- It was a hot day
Due to the dimensions of 1.2 m x 1.8 m applying the glue took way too long and it seemed to dry in some places.
Lessons learned:
- Use a bucket of glue
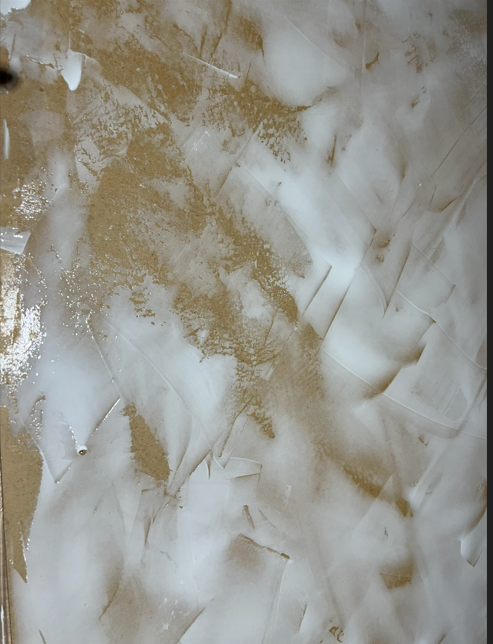
- Pure out some glue and spread it on the wood
I placed the wood on the floor, for which I used a part of the cover from before.
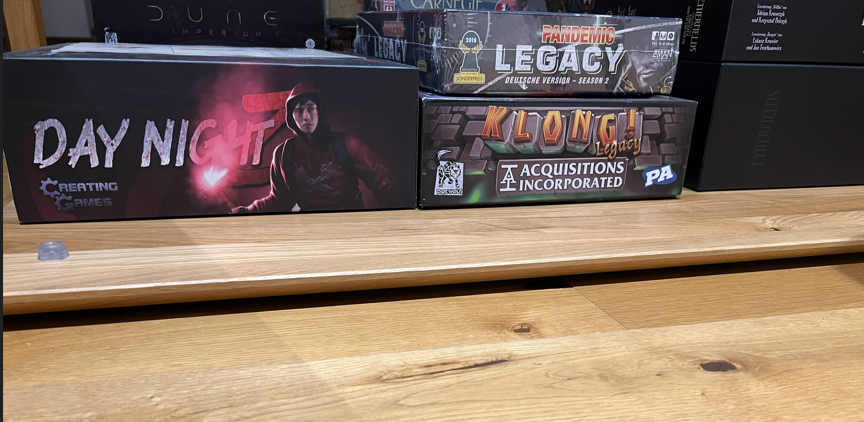
Once every part, especially the border, was covered, I placed the puzzle onto it. The next step was to press the puzzle pieces to the wood. I used the leaves of my gaming table to distribute the pressure of games I moved onto those. In the picture you will only see the table leaf and games, the puzzle is between the floor and the leaf. I also protected the table leaves by using another part of the cover to place between the puzzle and the leaves.
I haven’t tested it how long it takes, but in my case, I did this in the evening and went to bed. In the morning everything the puzzle had successfully bound to the wood.
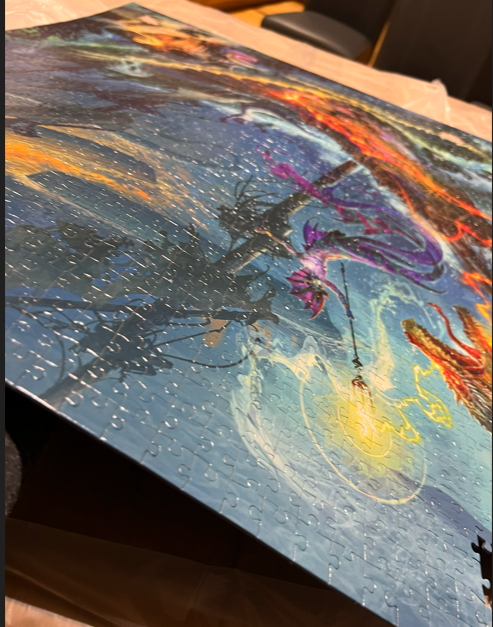
Result
Here are two pictures of the result, before screwing the puzzle to the wall.
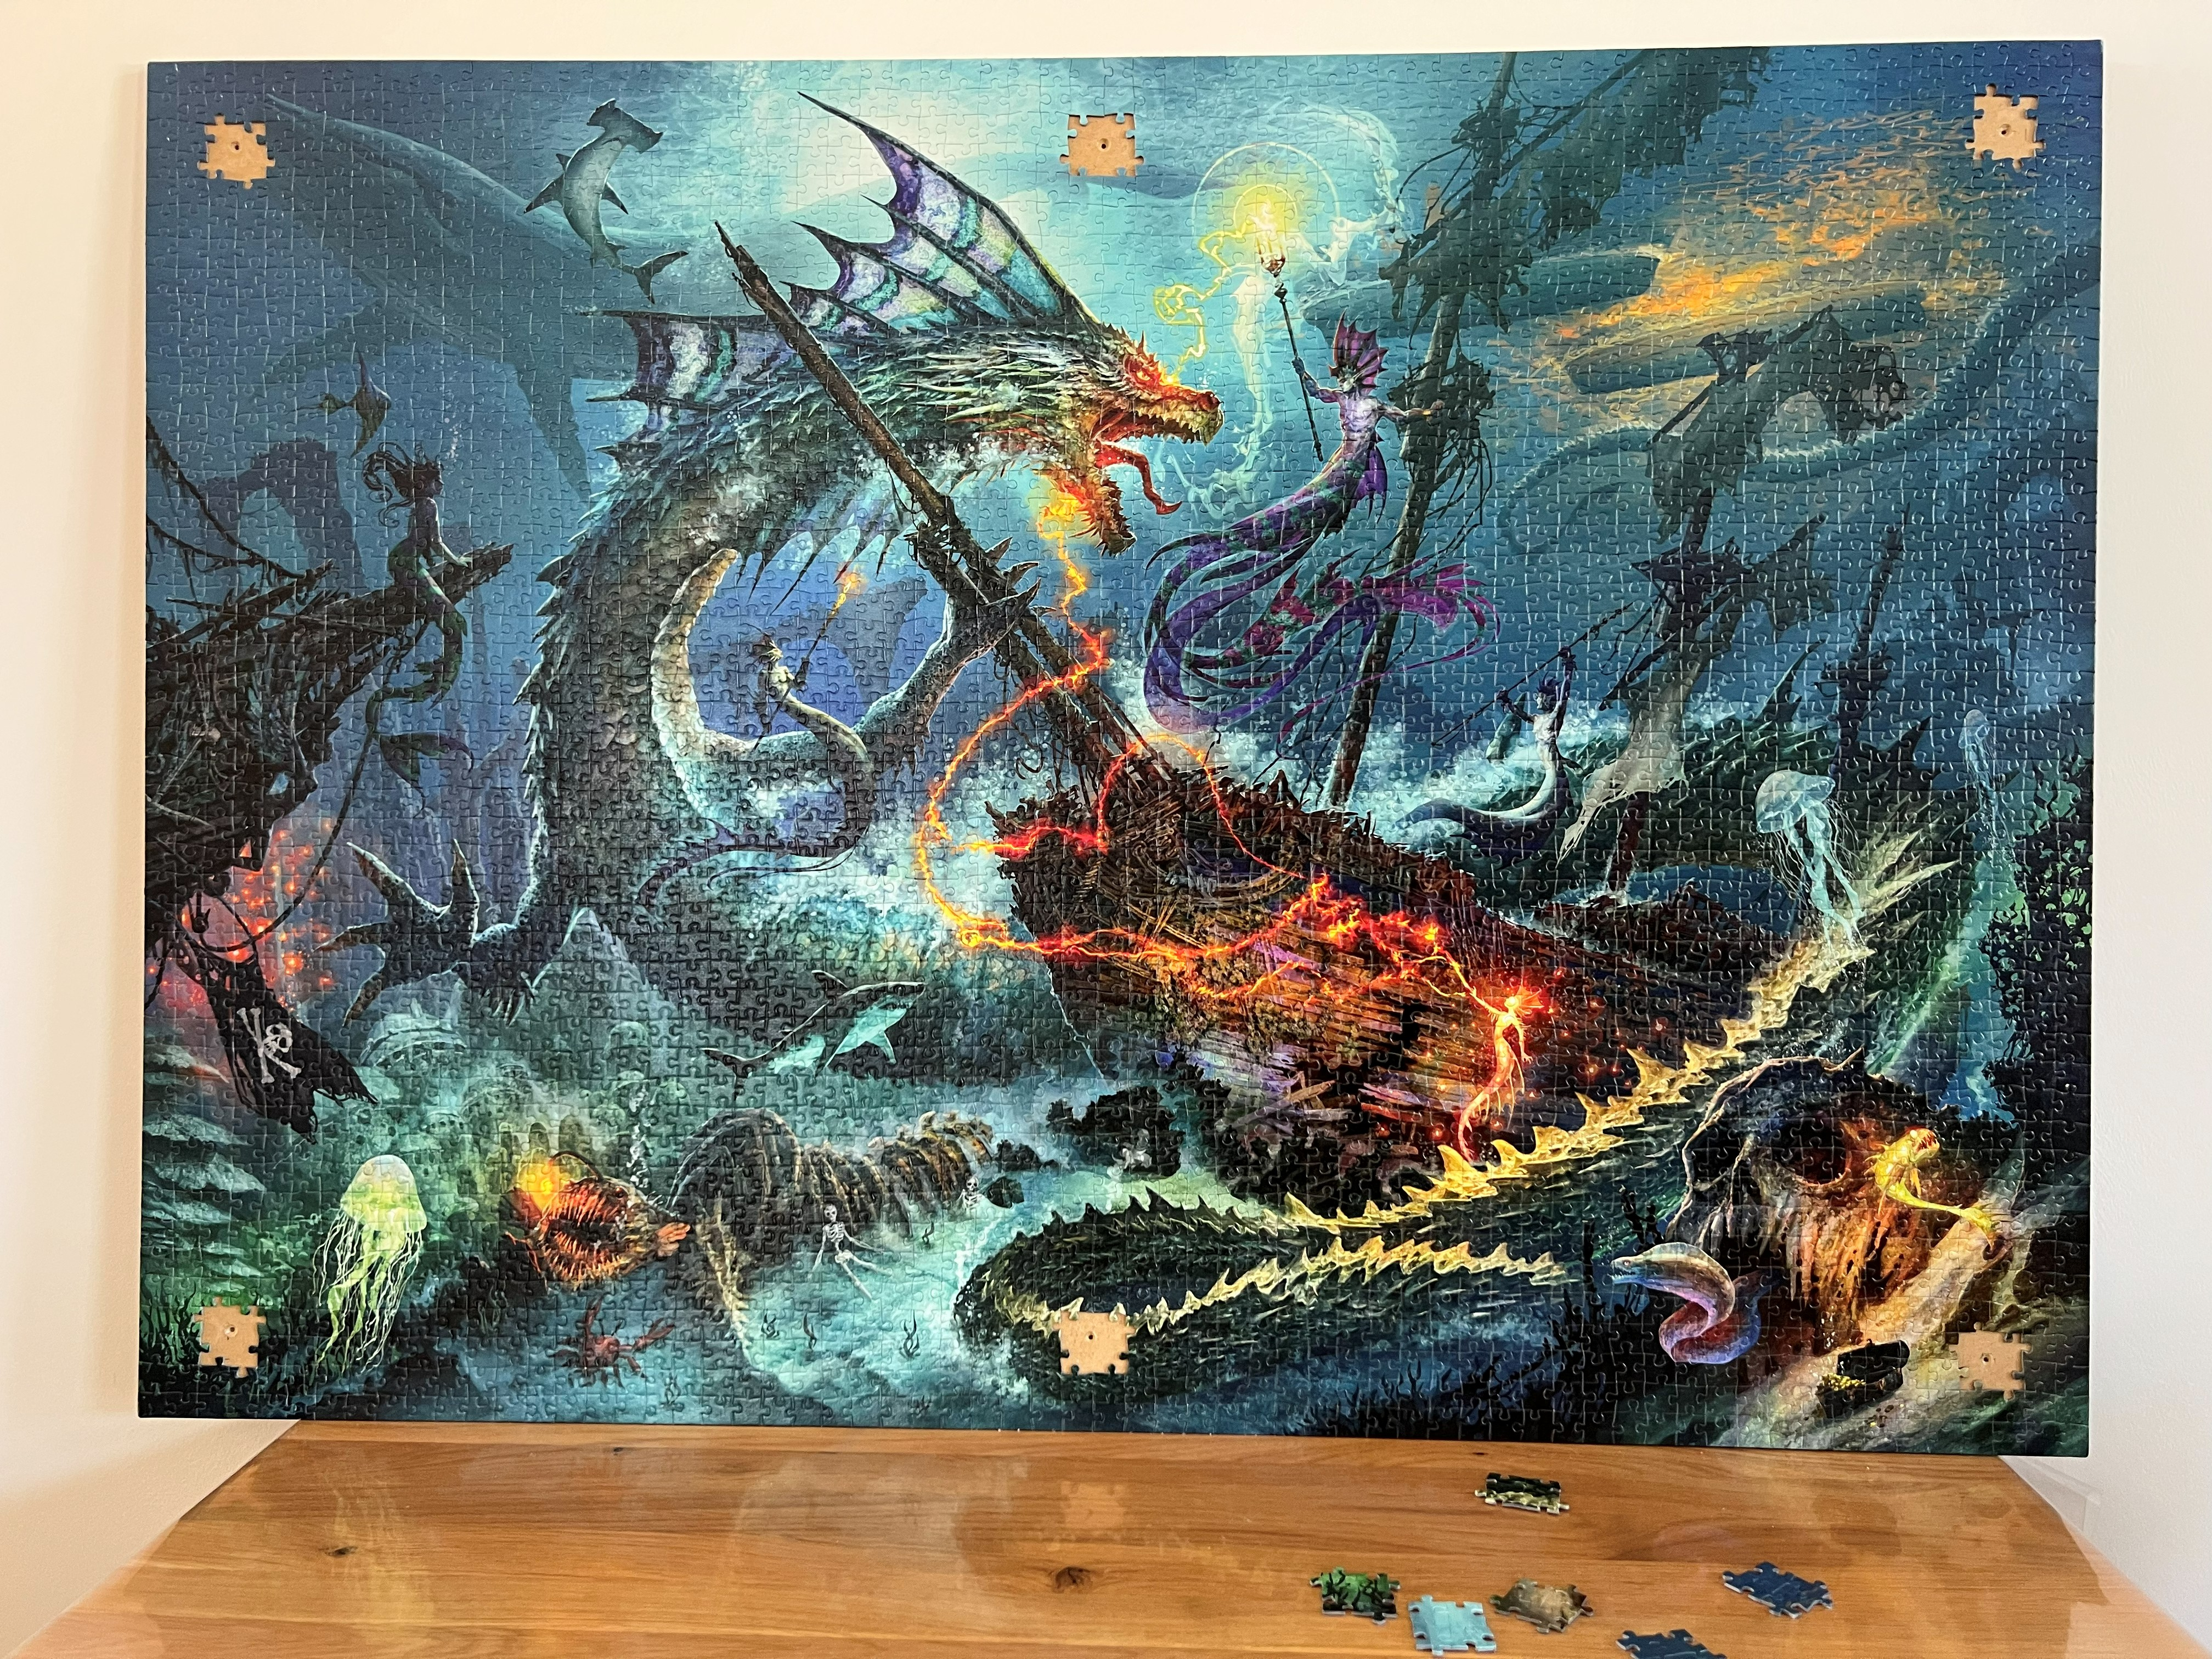
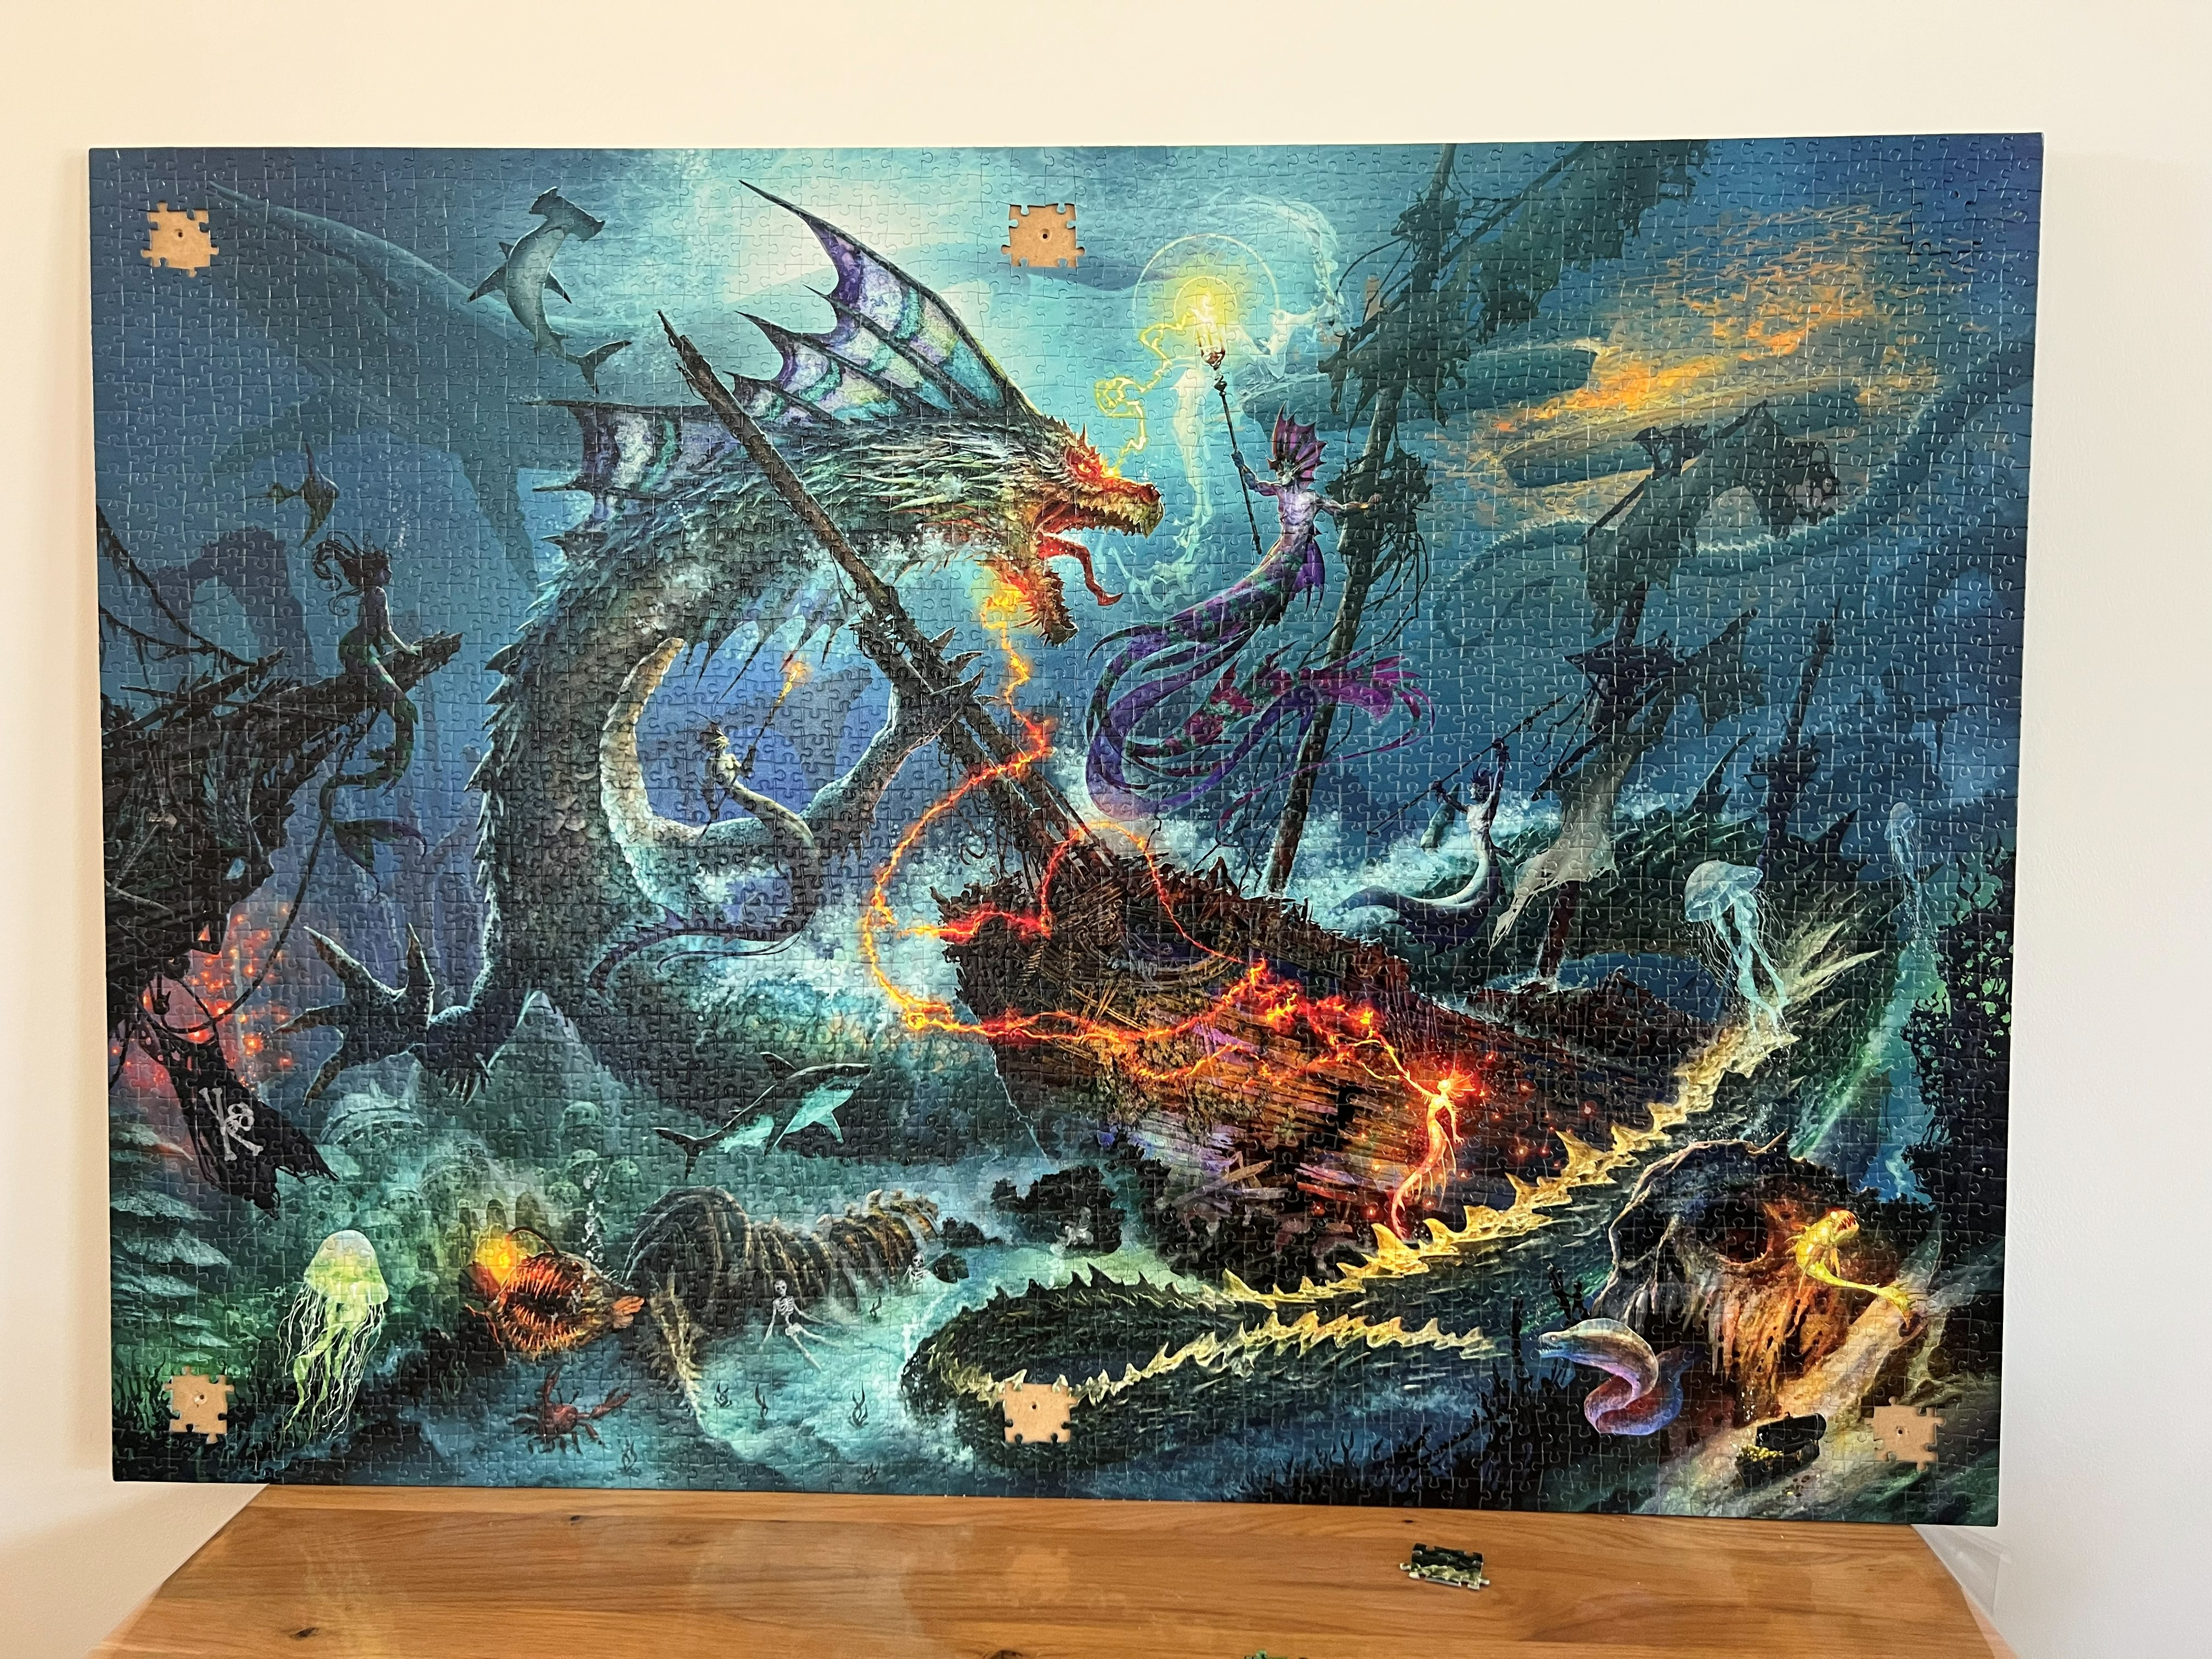
Even so I placed the screw puzzle tightly into the puzzle, I was able to extract it with a vacuum cleaner again. This way you can also take your puzzle with you, when you are moving. :)
Comments