SharePoint Online certificate authentication
Overview
My previous post was about creating an app which can be used to access the SharePoint Online REST API. I mentioned that neither WEBCON BPS 2025 nor any previous versions offer a functionality to connect with SharePoint Online using a certificate. While this is true, the 2025 R1 release extended the SDK. We can now create our own REST authentication!
This post will cover my approach to it. While I think that the usage should be self-explaining, I will provide additional information here.
I’m assuming that you already have a Microsoft Entra ID App registration with a certificate. If this is not the case, you can read up on it here
Configuration
After uploading the package, you need to create a new REST Web Service connection and select the new SDK authentication type.
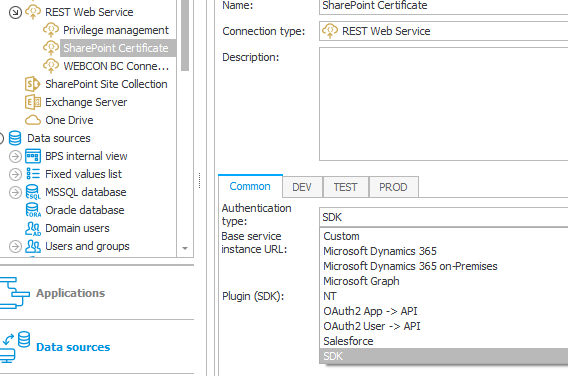
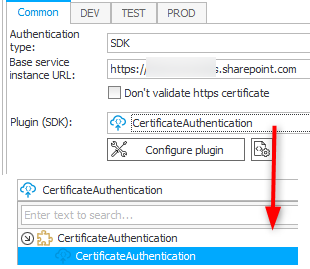
As with other elements, you need to select the plugin from the list of available ones.
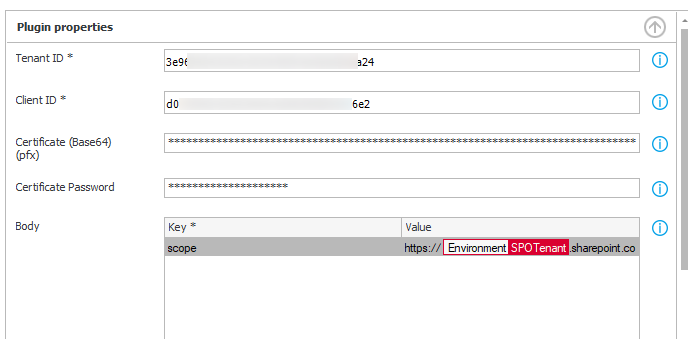
Now it’s time to bring up the configuration, you need to fill out:
- Tenant ID (GUID)
- Client ID (Guid)
- Certificate
The base 64 encoded value of the pfx certificate file. - Certificate password
The password which was used for generating the certificate. - Body
scope https://YOURDOMAIN.sharepoint.com/.default
Remark: In theory you could also add additional headers which will be added as default headers. Therefore, these should be part of all subsequent calls, but I haven’t tested it.
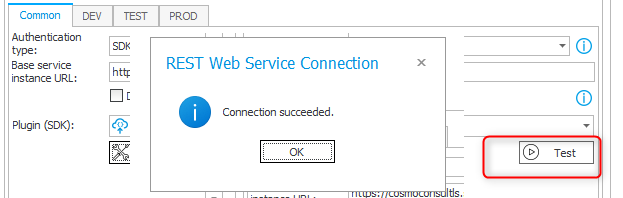
If everything is correct, you can verify it by using the Test button.
Using the connection
This is as easy as we are used. You can simply setup the data source and select the connection.
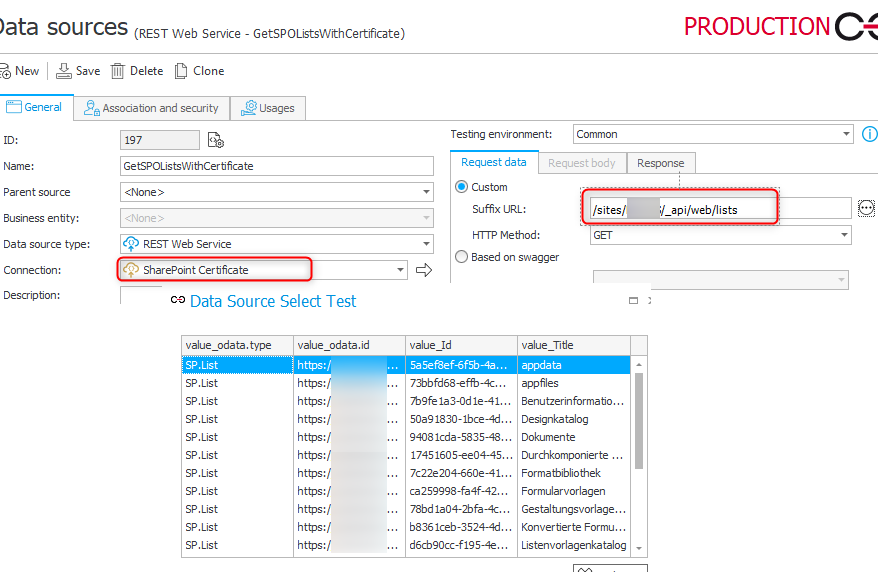
Remark: I haven’t used the connection in a REST action, but if it’s working in a data source, than it should be just fine in a REST action.
Plugin features
Cached access token
The plugin will only get a new access token, if it would expire in one minute.
You can enforce this by using the Test button of the connection. This will clear the stored access token.

Proxy
The plugin will reuse the configured proxy.
var proxy = new WebCon.WorkFlow.SDK.Tools.Data.ConnectionsHelper(Context).GetProxy(TokenEndpoint);
if (proxy != null)
{
    _logger.Log("Adding proxy.");
    var clientHandler = new HttpClientHandler
    {
        Proxy = proxy,
        UseProxy = proxy != null
    };
    client = new HttpClient(clientHandler);
}
else
{
    client = new HttpClient();
}
Logging
One of my favorite quotes is:
My log is my documentation
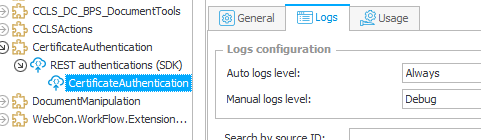
The log is quite extensive. About 1/6 of the code lines are calls to the logger. Hopefully this will help to identify any issues without the need to debug. The only ‘limitation’ is that you need set the log level to debug.
Get base 64 encoded value
If you have your certificate but don’t know how to get the base64 encoded value of the .pfx file, you can use the 4. getBase64CertificateValue in the PowerShell folder of the repository.
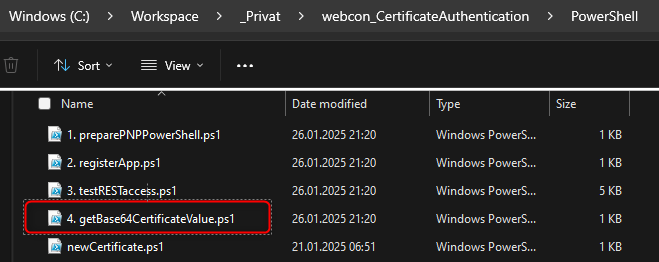
Remark: I created the other PowerShell files for testing only. In a real world scenario, I would add some variable and combine them in a module.
Download
You can find the source code in this repository.
Remark: You will need to generate a new signing key.
I also provided a compiled version. In theory you should be able to use it from a licensing point of view. If not, please get in touch with me.
Comments