Delete selected workflows
Overview
There are situations in which you want to delete specific workflows. It may bay that you are in the prototype phase, or you just did some tests which should be removed or similar cases. Of course, you could use the admin mode* to delete those workflows depending on the version. This may be easier or not so easy if one workflow has children and grandchildren and so on. Since I’m lazy I created this application to support me.
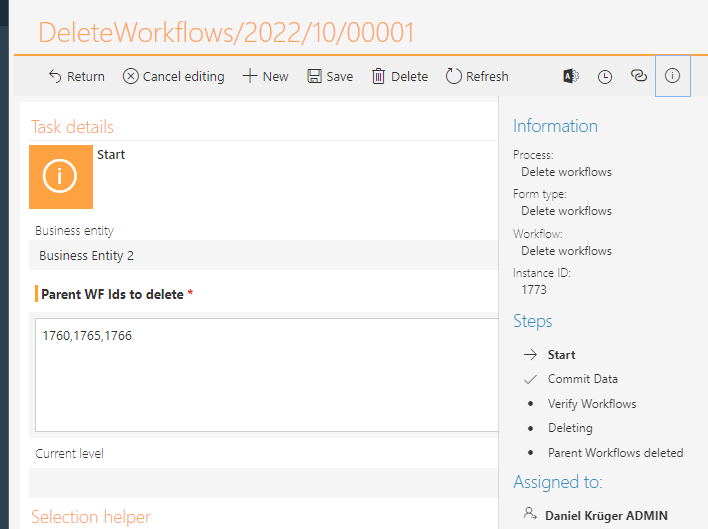
Info: Admin mode: In our projects the delete button is always hidden in the field matrix. Just to make sure there’s also a validation action in the delete trigger itself, which would prevent the deletion.
Info: There have been changes to the way the delete button behaves during the versions. Maybe it’s easier to use the delete button nowadays, but I’m used to using this approach. :)
Info: This is intended to be used by an admin, so there are not many explanations and other short comings. :)
Remark: This template uses the ‘Archive workflow instances’ action. If this is not available in the environment than it won’t work. This can be the case for the express/freemium version and WEBCONAPPS.
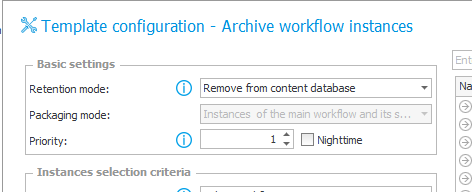
Delete workflow
Workflow diagram
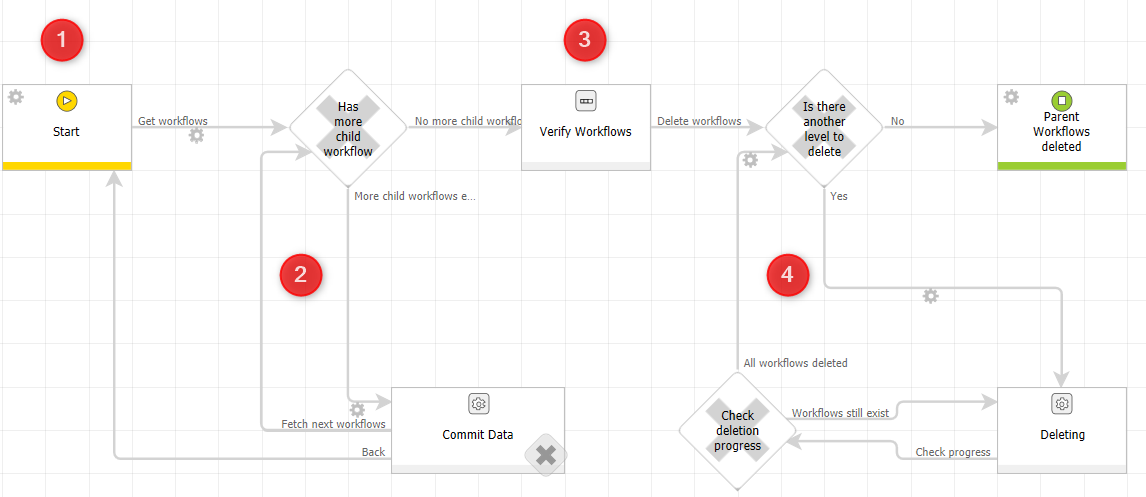
The delete workflow basically is started with a comma separated list of workflow ids in the ‘Start’ (1) step. Once these are entered the user starts the ‘Get workflows’ phase (2). This will retrieve the current workflows, then it will be checked whether these have child workflows. If this is true, these are retrieved. Afterwards these child workflows will become the ‘current workflows’ and the process will be repeated until all child workflows have been retrieved. Once this is finished the user will gain a task again to verify the workflows (3). So, there’s a chance to stop the process of deleting these workflows, by deleting the ‘delete workflow’ itself. If every displayed workflow should be deleted, you can continue to start the cleaned up. For this the workflows of the lowest level will be deleted, then their parents and so on (4). At the end the user gets a mail once everything is finished.
Selecting the workflows to delete
If you know the Ids of the workflows, you can simply add these using comma separated values and you are good to go.
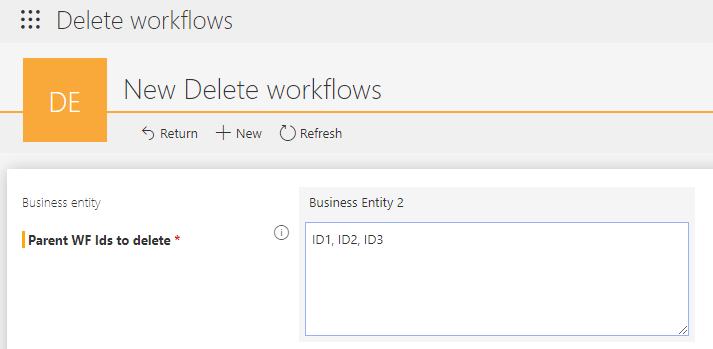
If you don’t know them, you can make use of the ‘Selection helper’. Just choose whether you want to get a list of workflow instances based on workflow (not process) or form type in a timeframe.
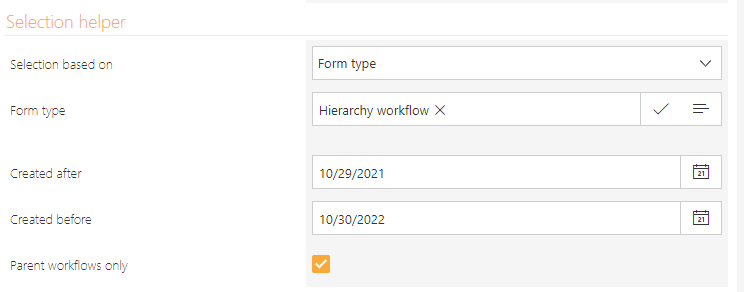
The result of the ‘Selection helper’ will be displayed below. If all these workflows should be deleted the value of field ‘Ids’ (1) can be copied to the ‘Parent workflow Ids to delete’ field. Otherwise, you can copy single values (2) to the field and delete the ‘,’ of the last one. In case there are to many you could even export the result to make use of Excel.
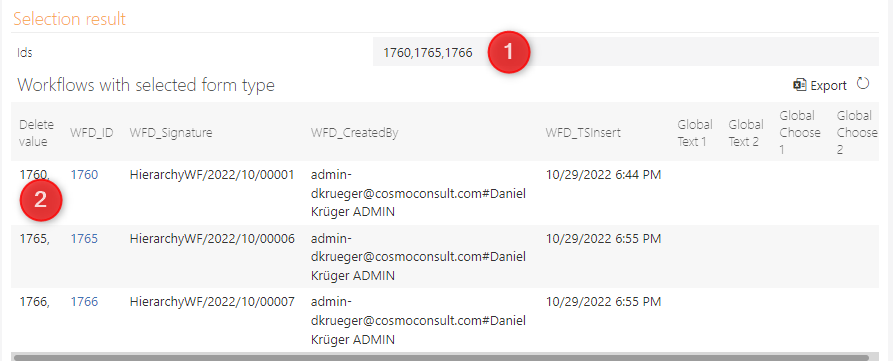
Info: I’ve chosen to include the global fields to make it easier to identify the workflows. In our applications we use the global text 1 field as a ‘Title’ field. It’s a global field because global fields are also displayed in ‘Searching structures\archive’.
Get workflows to delete
After you have decided on the workflows, you can move to the next step. This will retrieve all workflows using a ‘timeout loop’. If you don’t want to wait, you can force the retrieval of the next level workflows using the paths.

Verification
Once all effected workflows are retrieved, you could use the ‘ParentId’ and ‘Id’ to identify the relation of the workflow instances. If everything is fine, you can start the delete process (1).
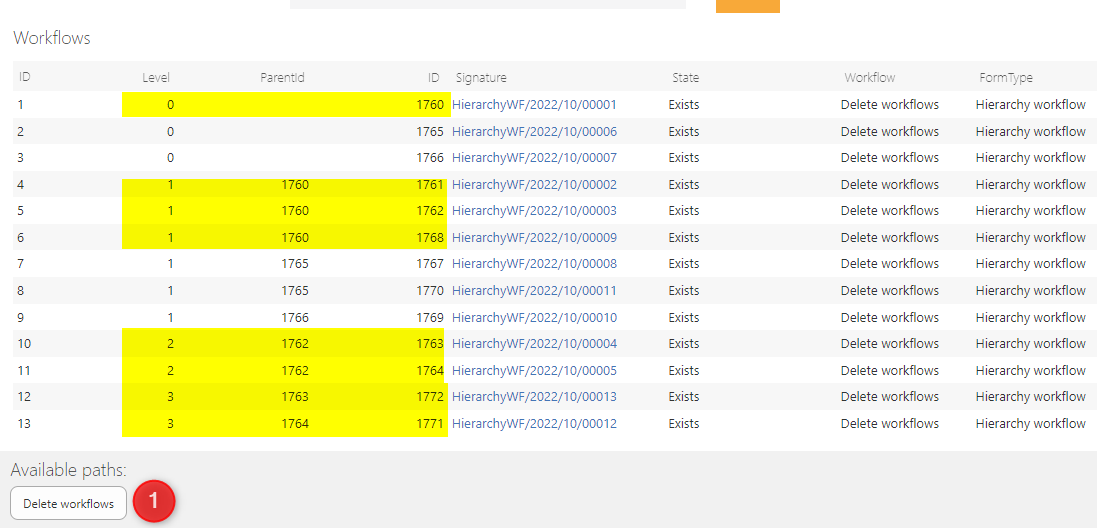
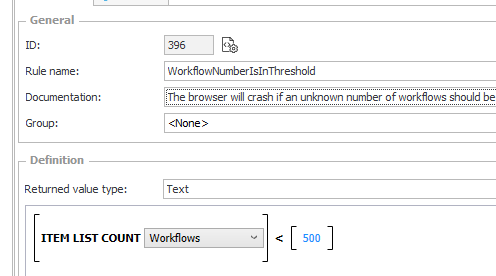
Info: There’s a rule which will hide the item list if there are more than 500 entries, and a warning will be displayed instead. You can change this if necessary, in designer.
Deleting
The deletion is done using the highest priority so it should be fast but depending on the number of levels, it will still take time. Each level is deleted for itself. This is handled again using a timeout. If you are impatient, you can again use the paths. This will also delete workflows, which have a validate action in the delete trigger, which would prevent the deletion otherwise.
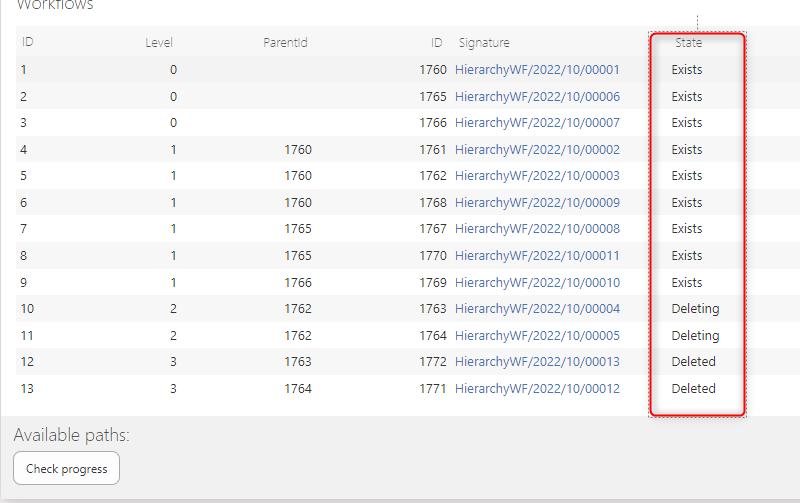
Once this is done you will get a mail.
Info: If you tend to be impatient like me, do the checks yourself or move away from the page. If the form is opened in edit mode, the timeout can’t do it’s work.

Hierarchy workflow
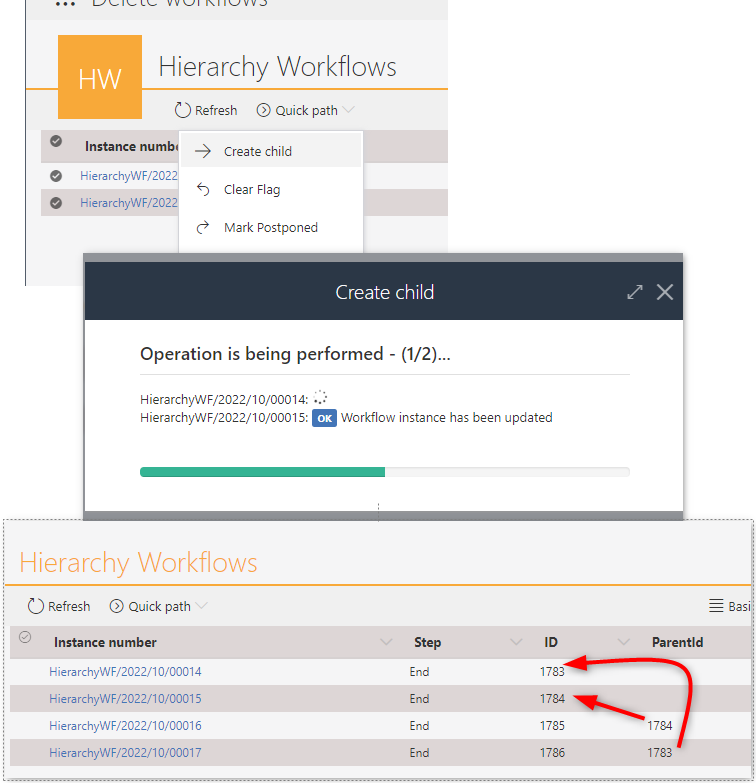
This is just a workflow I created for testing the ‘Delete workflow’. You can use the start button to create top level workflows. Afterwards you can select one workflow and create a child workflow.

Alternatively, you can use a quick path from the report to create one child workflow for each selected workflow.
Download
The process itself is easy to create. but if you are running the same version, you could simply use download one from my GitHub repository.
Remark: I’ve created the first version in 2020 so if you take a look at it, you will see some old school ways. In addition, the screenshots have been made using the version for 2022.1.4.61. The general logic is there in every package but some convenience features have been added meanwhile. :)
Remark: The template contains three business entities. So you may need to clean them up afterwards.
Comments