Dynamics CRM style tabs
Overview
We are regularly running into scenarios in which we have a lot of information (fields) on a form. This was already problematic in WEBCON BPS 2023 but with 2025 it reached another level.
While the new UI definitely looks better it also takes a more space so there’s even less space for all our information.
As a result I raised a user voice for some kind of improvements to the form to handle also large forms.
I also provided an example how Dynamics CRM is doing it and the next day I knew how we could achieve something similar in WEBCON BPS.
I really like the result. :)
Remark: I don’t recommend this for each and every form. Besides the additional effort there’s always a risk that something will break in a later version. But if you have a large form, this may be a solution. I also believe that the risk, that something really breaks beyond recovery is nonexistent.
Implementation
Overview
If you intend to apply this layout to a form you need:
- A global form rule with the JavaScript logic
- Load the global form rule in an HTML field
- Create a process form rule to
- Configure the width of the groups
- Define whether the labels should be placed above the field
- Add an html field to the tabs to trigger the process form rule
Global form rule creation
I’ve created the following form rule in JavaScript mode. The source can be found in the GitHub repository which is linked in the Download.
Rule name: CustomTabLogic
Description:
Provides the means to create a more flexible tab layout. You can define:
- the width of group inside the tab
- place the labels above
- Show / Hide the business entity or attachment
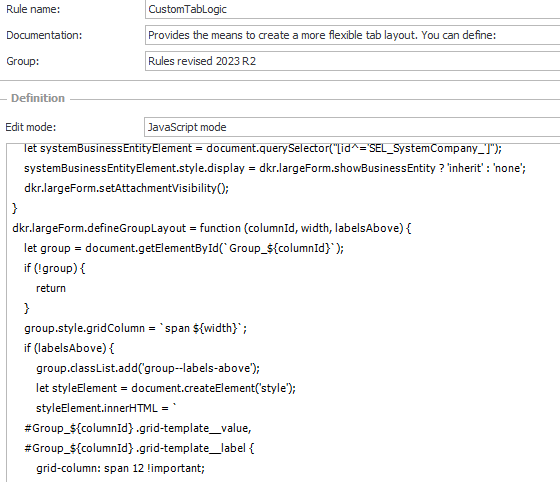
Loading of the global form rule
Create an HTML field in the process and load the form rule.
<script>
InvokeRule(#{BRUX:3677:ID}#)
</script>
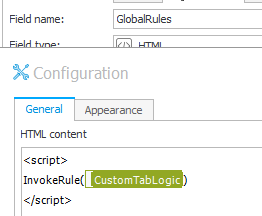
I placed this field in the top panel above every normal field and made it visible in all steps in the field matrix.

Process form rule creation
Create a new form rule in JavaScript mode.
Rule name: ActivateTab
Description:
Defines the logic how the tabs should look like.
Copy the below JavaScript so that you have a starting point for later.
dkr.largeForm.showTabContent(
    () => {
        /* Start of your logic   */
        /* These variables are set to false by default. If you want to show either one, set them to true in the tab
            dkr.largeForm.showBusinessEntity = false;
            dkr.largeForm.showAttachments = false;
        */

        HideComment();

        /* Render only those who should be visible for the current tab  */
        if (dkr.largeForm.activeTab == '#{WFCON:1471}#') {
            dkr.largeForm.showBusinessEntity = true;
            dkr.largeForm.defineGroupLayout("#{WFCON:2493}#", 6,true);
            dkr.largeForm.defineGroupLayout("#{WFCON:2496}#", 6,true);
            dkr.largeForm.defineGroupLayout("#{WFCON:2492}#", 12);
        }
        if (dkr.largeForm.activeTab == '#{WFCON:1480}#') {
            dkr.largeForm.defineGroupLayout("#{WFCON:2494}#", 12);
            dkr.largeForm.defineGroupLayout("#{WFCON:1638}#", 6);
            dkr.largeForm.defineGroupLayout("#{WFCON:1563}#", 6);
            dkr.largeForm.defineGroupLayout("#{WFCON:1635}#", 12);
            dkr.largeForm.defineGroupLayout("#{WFCON:2495}#", 12);
            dkr.largeForm.defineGroupLayout("#{WFCON:1599}#", 6);
            dkr.largeForm.defineGroupLayout("#{WFCON:1627}#", 6);
        }
        if (dkr.largeForm.activeTab == '#{WFCON:1548}#') {
            ShowComment();
        }
        if (dkr.largeForm.activeTab == '#{WFCON:1479}#') {
            dkr.largeForm.defineGroupLayout("#{WFCON:1561}#", 12);
            dkr.largeForm.defineGroupLayout("#{WFCON:1843}#", 8,true);
            dkr.largeForm.defineGroupLayout("#{WFCON:1598}#", 4,true);
        }
        if (dkr.largeForm.activeTab == '#{WFCON:1493}#') {
            dkr.largeForm.defineGroupLayout("#{WFCON:1561}#", 12);
            dkr.largeForm.defineGroupLayout("#{WFCON:2506}#", 5);
            dkr.largeForm.defineGroupLayout("#{WFCON:2507}#", 7);
        }
        if (dkr.largeForm.activeTab == '#{WFCON:1493}#') {
            dkr.largeForm.defineGroupLayout("#{WFCON:1561}#", 12);
            dkr.largeForm.defineGroupLayout("#{WFCON:2506}#", 5);
            dkr.largeForm.showAttachments = true;
        }
        /* End of your form logic */
    });
Setup the tabs
Add a new HTML field to execute the newly created process form rule, make it visible in the field matrix and copy it to the other tabs afterwards. This will save you a few clicks. ;)
<script>
InvokeRule(#{BRUX:3678:ID}#);
</script>
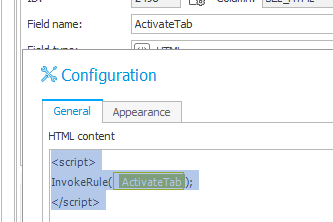
Afterwards you need to create the groups and sort them how they should be displayed.
- The content of a tab consists of 12 columns.
- Groups are displayed in the same ‘row’ as long as their width does not exceed 12 columns.
- If a group would exceed this it will be placed in the next row.
After you created the groups, you can head over to the process form rule and define the layout of the groups.
The following will configure the width of the first to groups to 50% while the third group will take the whole width.
The true will place the labels in this group above the controls.
        if (dkr.largeForm.activeTab == '#{WFCON:1471}#') {
            dkr.largeForm.showBusinessEntity = true;
            dkr.largeForm.defineGroupLayout("#{WFCON:2493}#", 6,true);
            dkr.largeForm.defineGroupLayout("#{WFCON:2496}#", 6,true);
            dkr.largeForm.defineGroupLayout("#{WFCON:2492}#", 12);
        }

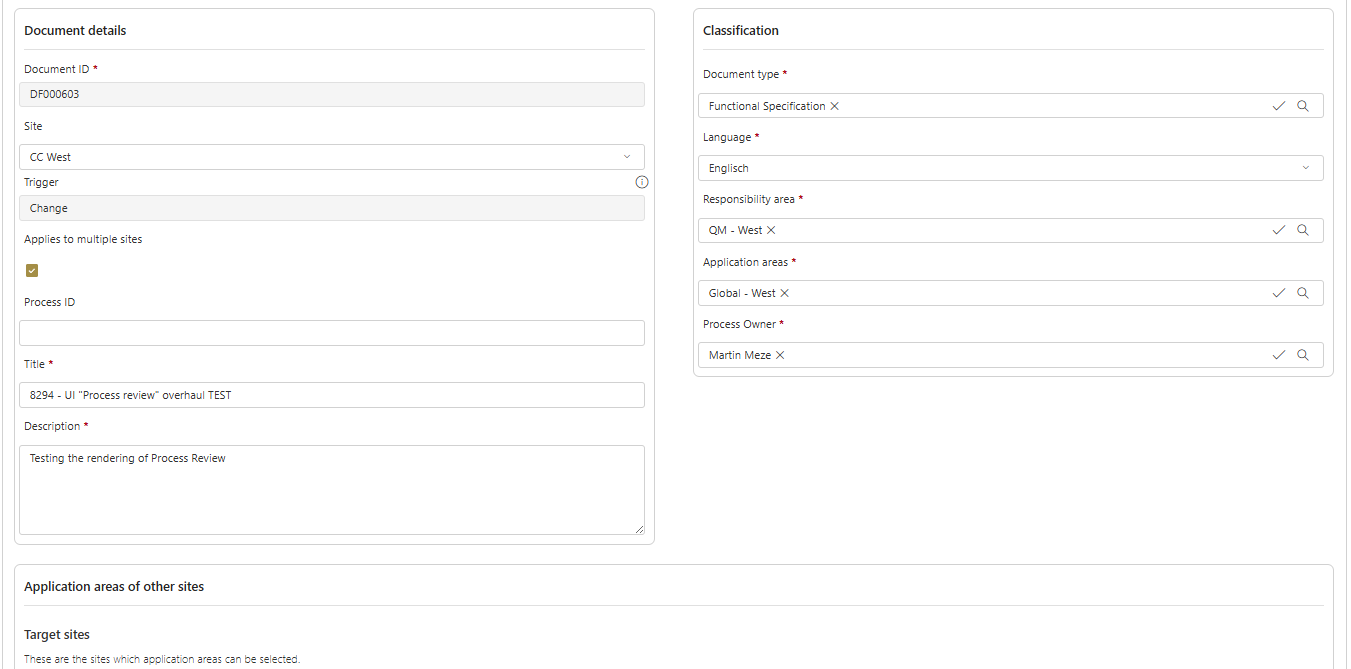
A few other ideas: First group takes the whole row while the next two groups are distributed by 5:7.
        if (dkr.largeForm.activeTab == '#{WFCON:1493}#') {
            dkr.largeForm.defineGroupLayout("#{WFCON:1561}#", 12);
            dkr.largeForm.defineGroupLayout("#{WFCON:2506}#", 5);
            dkr.largeForm.defineGroupLayout("#{WFCON:2507}#", 7);
        }
First, fourth and fifth group takes up a while row while group two, three share the second row.
        if (dkr.largeForm.activeTab == '#{WFCON:1480}#') {
            dkr.largeForm.defineGroupLayout("#{WFCON:2494}#", 12);
            dkr.largeForm.defineGroupLayout("#{WFCON:1638}#", 6);
            dkr.largeForm.defineGroupLayout("#{WFCON:1563}#", 6);
            dkr.largeForm.defineGroupLayout("#{WFCON:1635}#", 12);
            dkr.largeForm.defineGroupLayout("#{WFCON:2495}#", 12);
        }
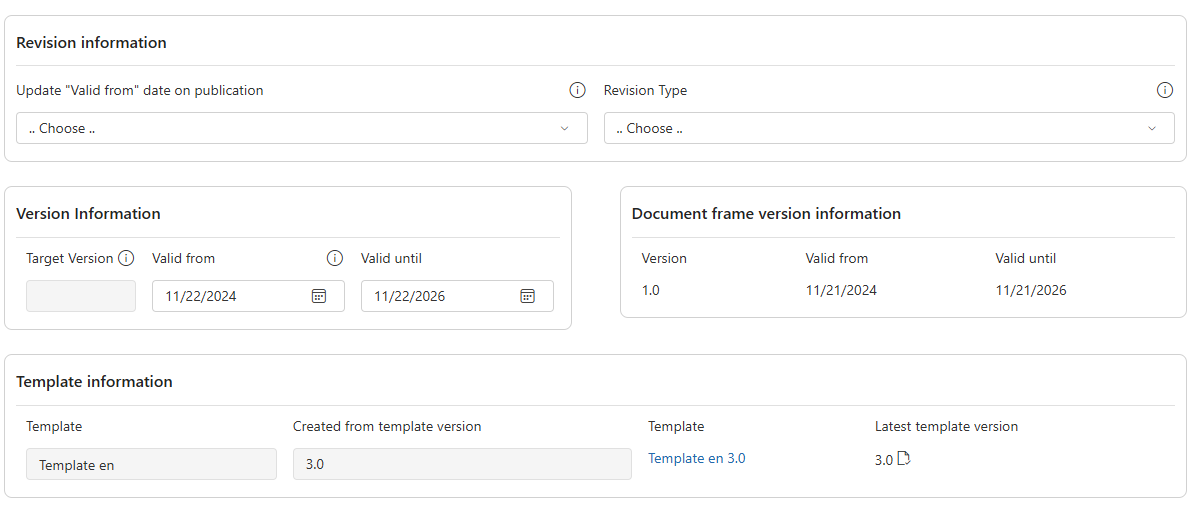
Remark
Testing
I only applied this two a real world workflow but I haven’t used it yet. Since we are just applying some styles everything else should be working just fine.
Function defineGroupLayout
This is the signature of the function used above
dkr.largeForm.defineGroupLayout = function (columnId, width, labelsAbove)
Parameter:
- columnId
This expects the ID of the group and tab must be selected from the Objects tab.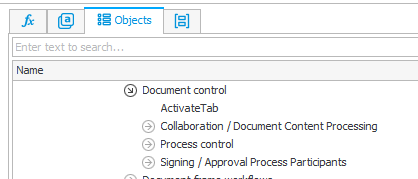
The group and tab id are selected from the Objects tab. - width
An integer value between 1 and 12. I would recommend using either 12 or values between 4 and 8, if you place two groups in the same row. - labelsAbove
If you passtruethe labels will be placed above the input control.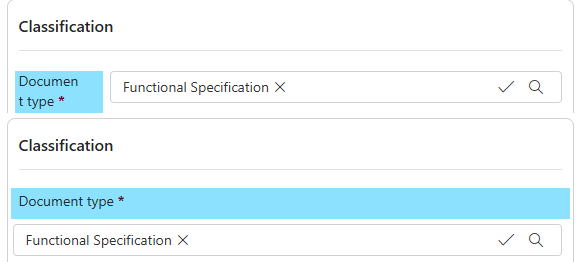
Attachments, business entity, comments
Unfortunately, we can’t place the system area fields in a group let a lone a tab. So the only thing we can do is hide them, if we don’t want to show them. I opted for placing the business entity beneath the tab and display it, if the first tab is activated.
I also created an empty attachment tab. This only contains the HTML field to execute the process form rule. While the border of the tab doesn’t include the attachments, it’s good enough to mimic a ‘tab’.
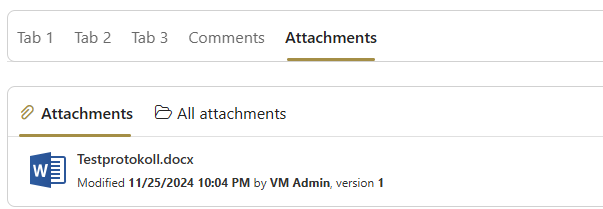
Attachments tab is activated, the attachments are displayed.
This is also the same concept I used for the comments.
If you want to display either the business entity or the attachments, you have to set either variable to true. Either in general or inside the if for the active tab.
dkr.largeForm.showBusinessEntity = true;
dkr.largeForm.showAttachments = true;
There’s no such logic for the comments, because there are already standard functions to hide or show them which can be used accordingly.
 HideComment();

  if (dkr.largeForm.activeTab == '#{WFCON:1548}#') {
      ShowComment();
  }
Download
You can find the full and a minified JS version here.
Comments